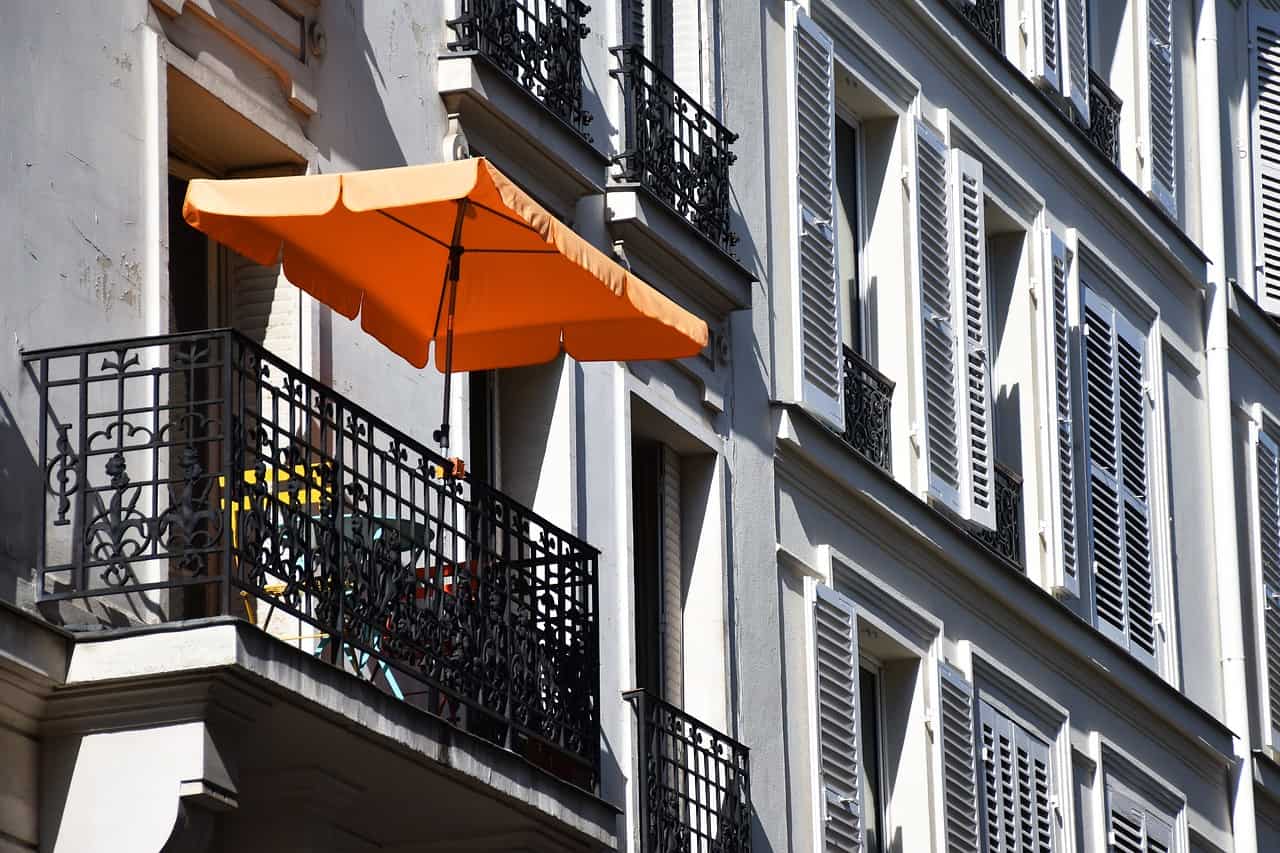
Colorful flowers are a decoration of every balcony. They make a balcony more beautiful and cosy. How do you make a flowerbed yourself?
It’s a good idea to have at least a few skills and basic tools to make this stand. To make a ladder you will need:
How to do it:
The boards should be purchased in a DIY store – this way they will be accurately cut. After buying them, sand them carefully with sandpaper. In the next step, use screws to make a frame by connecting two boards together at an acute angle.
In the next step, think about how many and what size shelves you want on the rack. The shelves at the bottom are the largest, the higher up on the ladder, the shelf becomes proportionally shorter. Using nails and a hammer, you should make the frames of the shelves, in which the bottom will be made of the remaining slats. You should line the inside of the frames with foil, which protects the wood from excess water from the pots. Then you need to screw together the frame with the shelves and paint it in the color of your choice.
Shelf from branches is a great idea for all those who appreciate natural solutions. Making such a shelf is very simple. You will need:
How to make:
First cut the branches and two split sticks to the desired length and remove all stems from them. Then the split sticks should be attached to the wall and inserted into them a long branch. In the last step, use strings to attach the baskets of geraniums to the long branch.
The hanging shelf is a very interesting decoration, which will give your balcony a unique look. With the implementation of this flowerbed can handle any novice DIY. To make such a shelf you will need:
Method of making:
Using a compass on the wood, you need to measure the diameter of the four pots – the diameter should be 1 cm less than the top diameter of the pots. This way they will not fall out. Use a drill and screwdriver to drill holes in the board. It is advisable to use wood drills for this. Use sandpaper to smooth out the holes for the flowerpots.
Once the board is prepared, paint it on both sides. While the board is drying, drill 4 holes in the ceiling on the balcony at this time. Then you need to screw the hooks into them. When the board is dry, you need to drill holes in it for the ropes. In the next step, put the rope through the holes and tighten with clamps. Attach the rope to the top hooks at the ceiling in the same way.
Once the shelf is installed, you can put the flower pots into it.
If you have a large balcony and you like plants, then a flowerbed made from an old ladder is ideal. To make a flowerbed you will need:
How to do it:
Planks are best purchased at a DIY store, where they will be cut exactly to size. They should stick out about 20 cm on each side of the ladder. Use sandpaper to smooth the boards. Using a screwdriver and screws, you need to attach the boards to the ladder. The last step is to paint the ladder in the color of your choice.