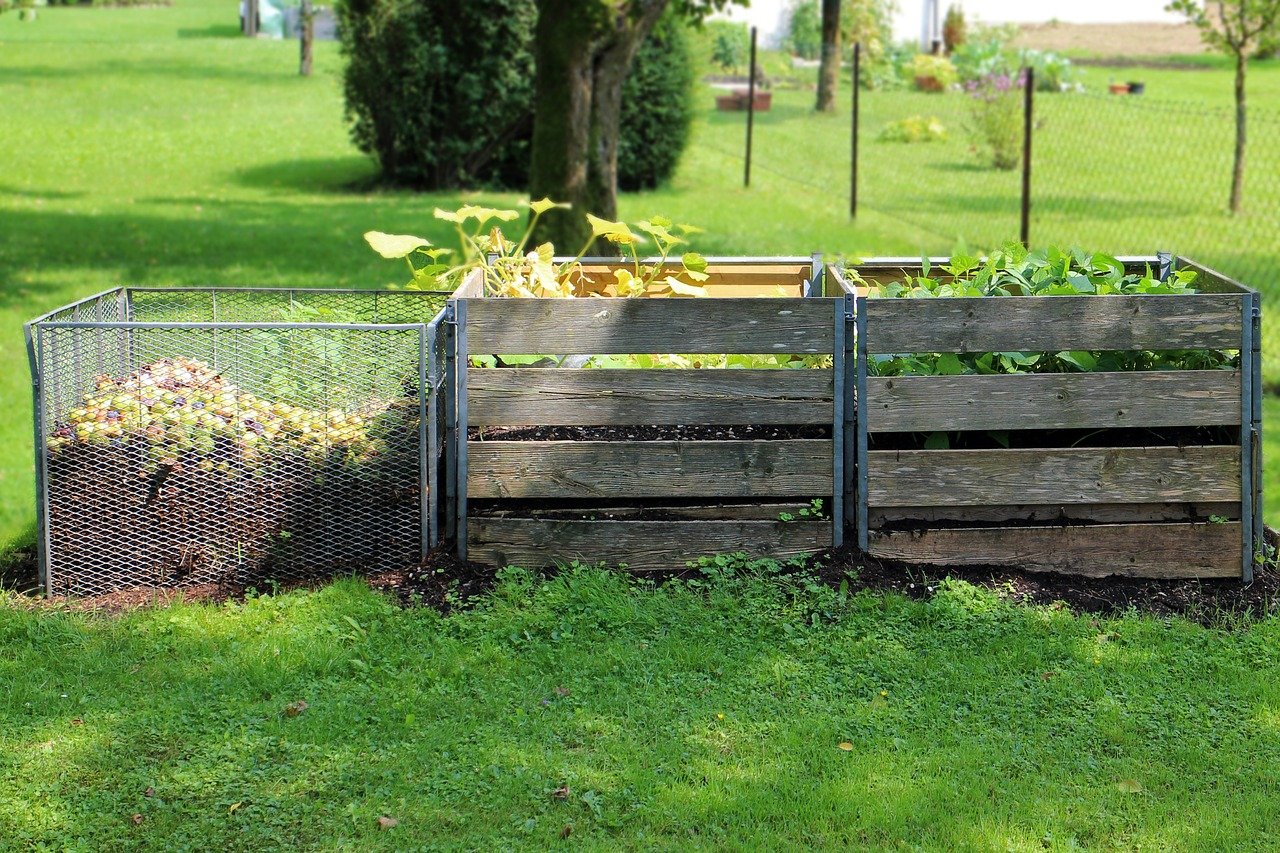
Simple, cheap and fast – this is the composter from pallets. We present step by step how to make it yourself in the backyard garden. It is not as difficult as it may seem.
A composter is a place for storing organic waste, from which we obtain valuable fertilizer for ornamental plants or vegetable beds, i.e. fully ecological compost, without the presence of chemicals.
It is best to place it in a slightly shaded place and, above all, not very frequented – because although it is a very practical element, it is in no way decorative. In addition, there will always be an unpleasant smell (if it is intense, it is a sign that the decomposition process is not going well).
Into the composter you can put all plant remains, vegetables, fruit, peelings, eggshells, tea and coffee grounds, potting soil, wood ash from the fireplace or the bonfire, cardboard, uncoloured paper, cut grass, hay, straw, sawdust, weeds, shrub branches, leaves and manure and litter from the hen house.
There should be sufficient moisture in the compost pile – if it is noticeably dry, then you can water it (in moderation so that its contents do not rot) and stir it.
Contrary to appearances, not everything is compostable. This is especially true of meat scraps, vegetables from meat soups, potato peelings and citrus peelings. Compost will also not be made from diseased plants, thuyas, spruce, leaves of alder, beech, oak and walnut, treated wood, coal ash, books, newspapers or cat litter.
A composter made of wooden pallets is an excellent alternative to store-bought products. It is definitely cheaper, and its assembly does not cause any difficulties. In addition, you can adjust its size by adding more pallets – the basic composter consists of four pallets, but the most practical is a rectangular one built of at least six pieces.
At the beginning you need to choose a place and set the boundaries of the composter and prepare the area – clean it, level it. You can, but it is not necessary, make a 30, 40-centimeter trench, which will not only increase its capacity, but also make the waste will have better contact with the ground, and thus the microorganisms will work more actively.
Next comes the time for wooden pallets. Even before they are put together, they should be thoroughly impregnated – twice – and covered with a special oil. Thanks to this, the structure of the wood will be strengthened, and additionally the whole will gain protection from moisture.
Now it is necessary to join all the pallets together – preferably using wood connectors/screws or nails. Simply position the pallet in the desired place and you are done.
It is also a good idea to make it easier to take out the finished compost. A good idea here is to simply cut off 1/3 of the height of one of the pallets – at the ground (creating a convenient window) so that you can freely slide it out, select what you need and slide it back into place.
It is worth equipping the composter with a cover (it can be hinged to one wall), which not only protects the contents from unauthorized persons, especially children, but also prevents the escape of heat from the interior or rain and snowfall. The pallet has quite wide openings, so if it is to serve as a roof, it is worth sealing it, nailing thick slats.
In addition, you need to keep in mind that wooden pallets are not the most durable material and after some time may deteriorate, especially since the climate in our country is very variable, there are often fluctuations in temperature and precipitation. Then it will be necessary to make such a composter once again. It is also worth remembering that the composter made of pallets harmonizes with the garden and looks more natural than its metal counterparts that can be found in stores.