Sponsored article
A good fence is the basis of a beautiful garden. But do you know what to look for when choosing a fence? We will show you the panel selection process step by step and explain how to install the fence yourself.
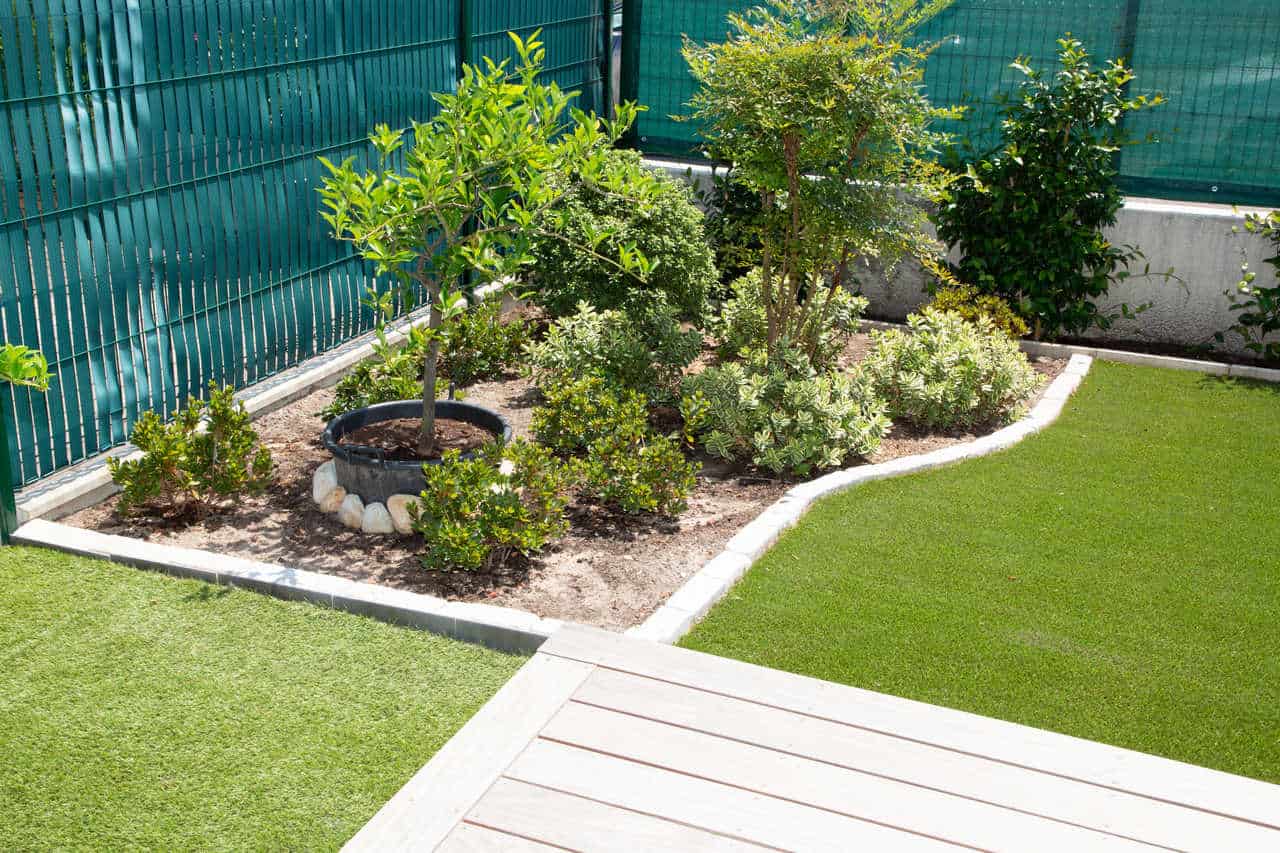
First of all, determine where you want to mount the fence. The location you choose will affect its design, height, material selected, and even style. For example, a fence placed at the front of an apartment should not be two meters high or completely built over. This kind of treatment leads to a hostile atmosphere, as if you care about scaring off potential guests. It also does not allow you to show others your wonderful garden, and after all, the front space in front of the house usually serves as a place to plant purely decorative plants.
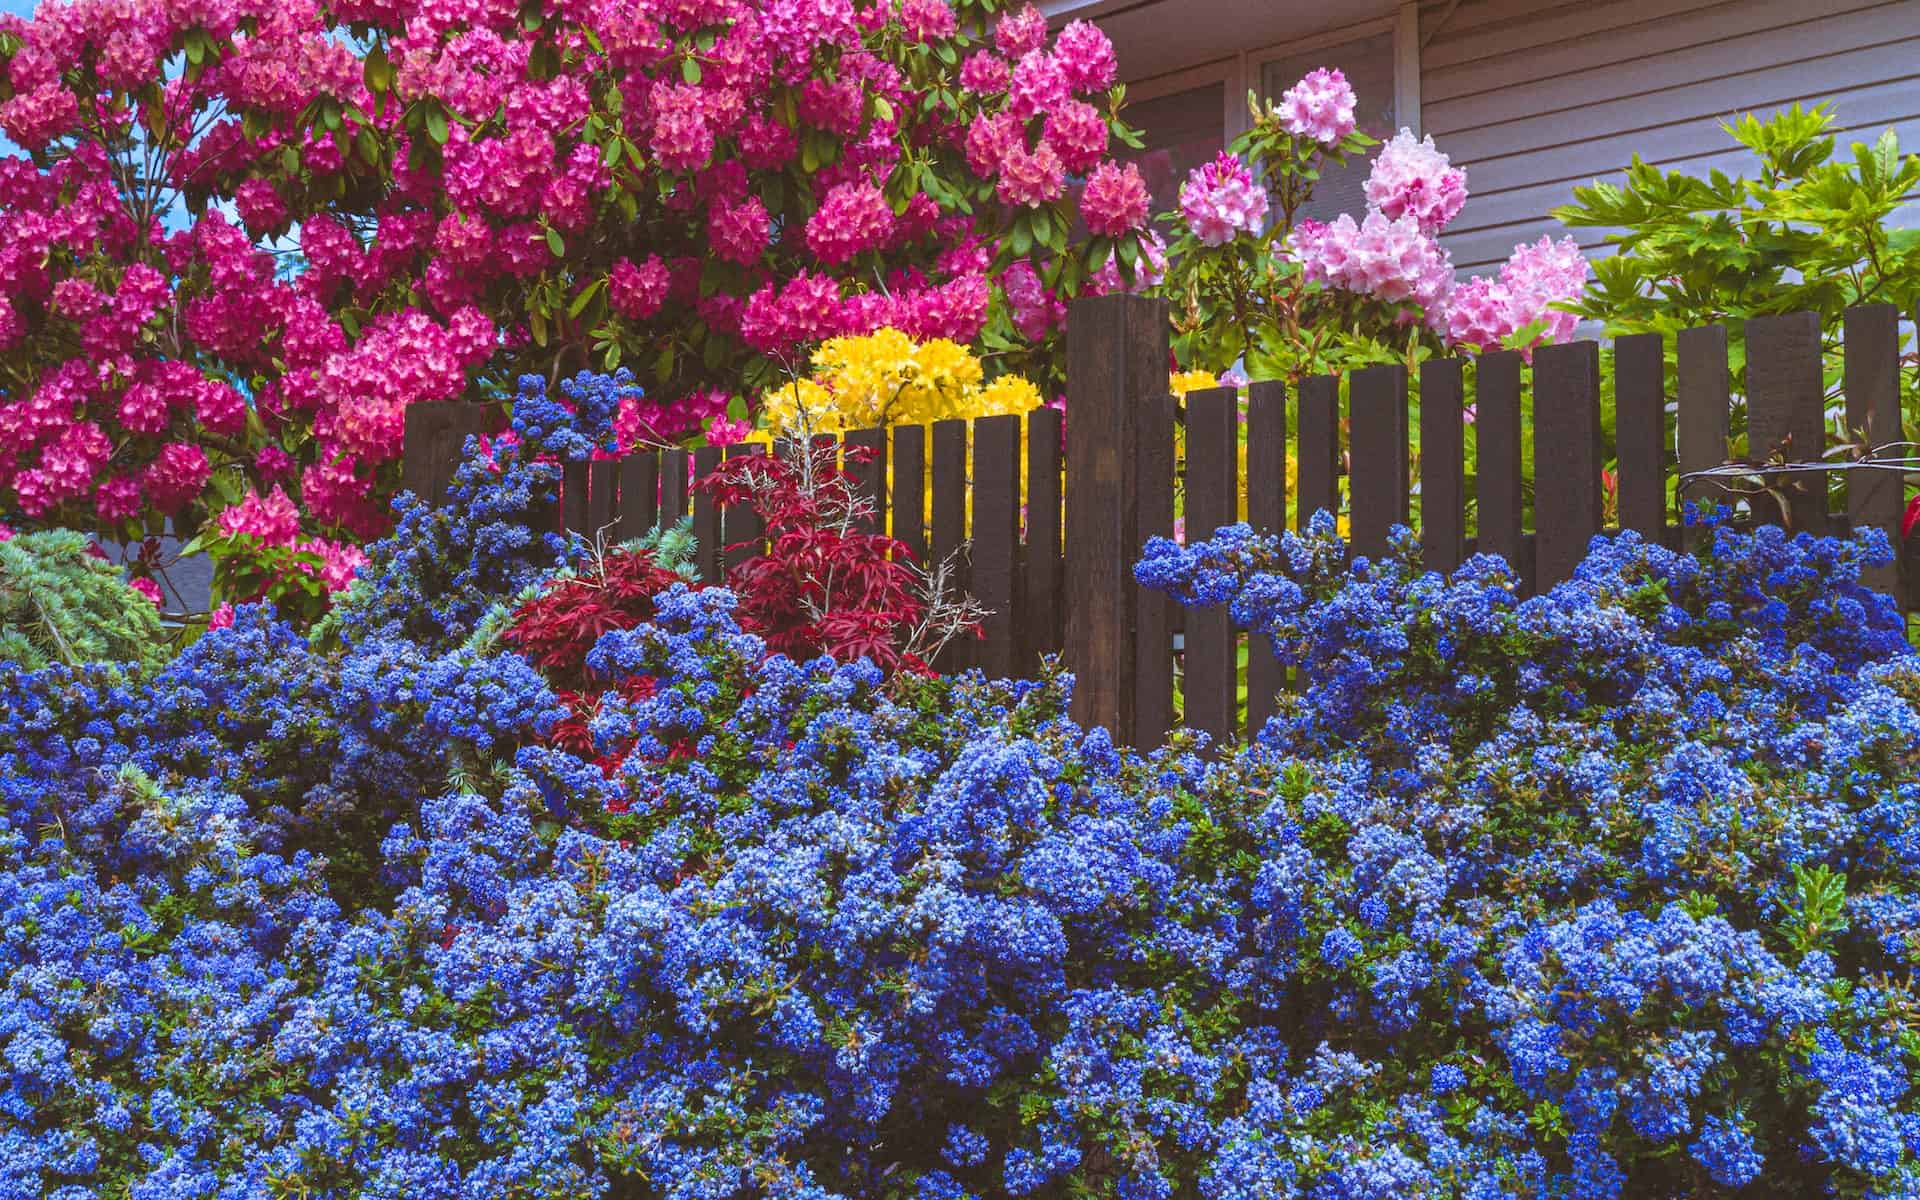
We told ourselves earlier that the fence at the front of the house should be low – ideally, it should not exceed a meter in height. However, the place where the fence is installed is not the only factor that affects its design. If you have children or dogs, you may need additional protection from possible escape in the form of a tall fence. Also pay attention to the needs of the plants in your garden. Flowers and shrubs that need constant contact with sunlight cannot be planted under a fence that casts shade on them.
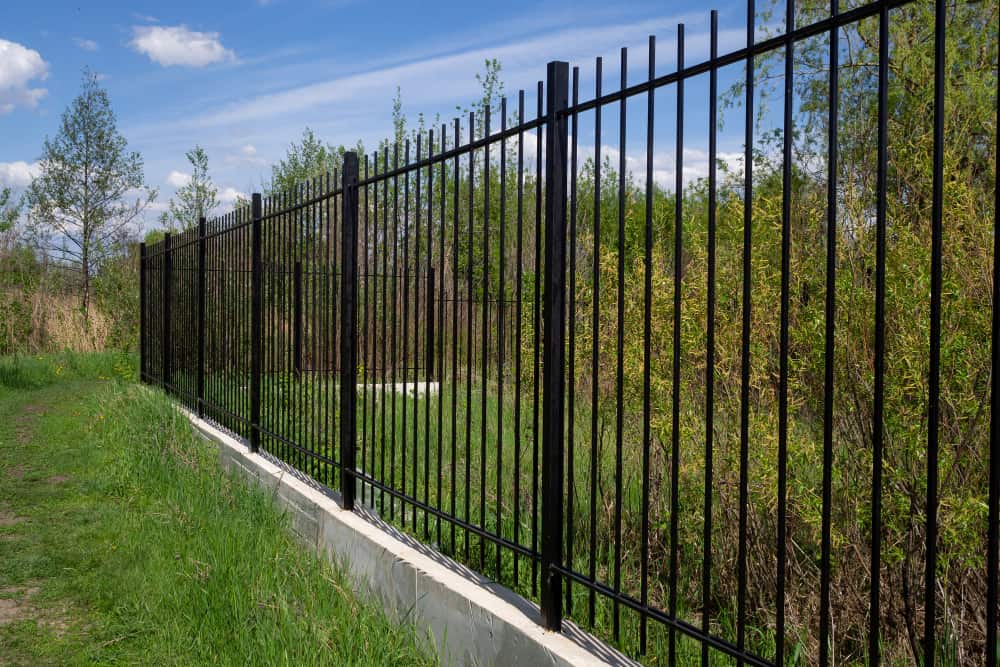
Tall fences will be ideal for the back of the garden as they will provide you with much needed privacy. Keep in mind, however, that the higher the fence, the more it weighs, so proceed with caution when installing it. You will find parts to help you with the stable construction of your fence at https://www.kristal.net.pl.
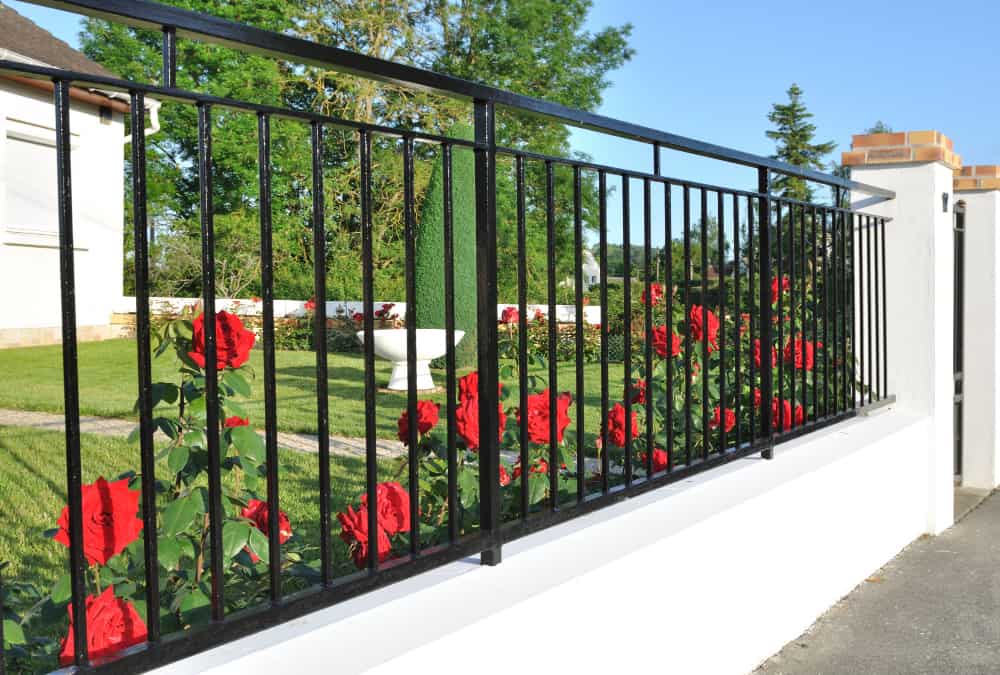
The distance between each board or element in your fence determines how much light comes through and how much privacy you actually need. You may be surprised at how much you can see through even the smallest gaps in your fence. If you are building a fence around the back of your home where you want and need a little privacy, choose panels that fit tightly together to form a solid wall. Not only will such a fence protect you from the prying eyes of your neighbors, but it will also limit the spread of loud noises and protect your delicate plants from the damaging effects of wind.
Keep in mind, however, that a fence with tight-fitting panels only further limits the amount of light in your garden. This can negatively affect the condition of your plants, as well as visually reduce the space around you. If these criteria are important to you, then a fence where the panels are at least a little further apart is a better choice.
When building a fence, it is very important to choose the right durable material that will last you for many, many years. A cement fence can withstand even the worst conditions, but its visual appeal leaves much to be desired. Much more attractive options are hardwood and softwood, which should last at least ten good years.
However, if you are looking for a cheaper option, opt for metal fencing. This has been a popular option in recent years because of the low manufacturing costs and unique designs in which these fences are available. You can find mounting parts for steel structures at https://www.kristal.net.pl/produkty/tuleje-gwintowane/346.
Before you get down to construction, first make sure that your neighbors agree with the construction of the fence. If none of them have a problem with it, it’s time to move on to planning the structure.
Ensure that the fence runs exclusively on your property. The process itself will start with measuring how far apart you need to put the fence posts (it should be about 2 meters). Then dig deep enough holes so that the whole structure is stable and not in danger of collapsing. To connect metal elements of the fence you will need durable metal clamps and cement.
When your posts are ready, you can install horizontal panels that will support the entire structure. When this step is complete, it’s time for the inner boards – and you’re done!