Every DIYer dreams of having a place to store their tools. You can easily create one yourself. Although it may seem complicated, in reality it is not so at all. In this article we show you how to do it step by step.
A special room for storing tools will be useful in every household. Thanks to it, we will never lose our tools and will maintain proper order. Our mowers, drills, saws, hammers, screwdrivers and many other equipment should be in one place
At the beginning it’s worth noting that according to Polish law we don’t need permission from any institution to build a structure up to 35 m2 on our land. However, if our project exceeds this area, we need to have permission to build from the relevant authorities.
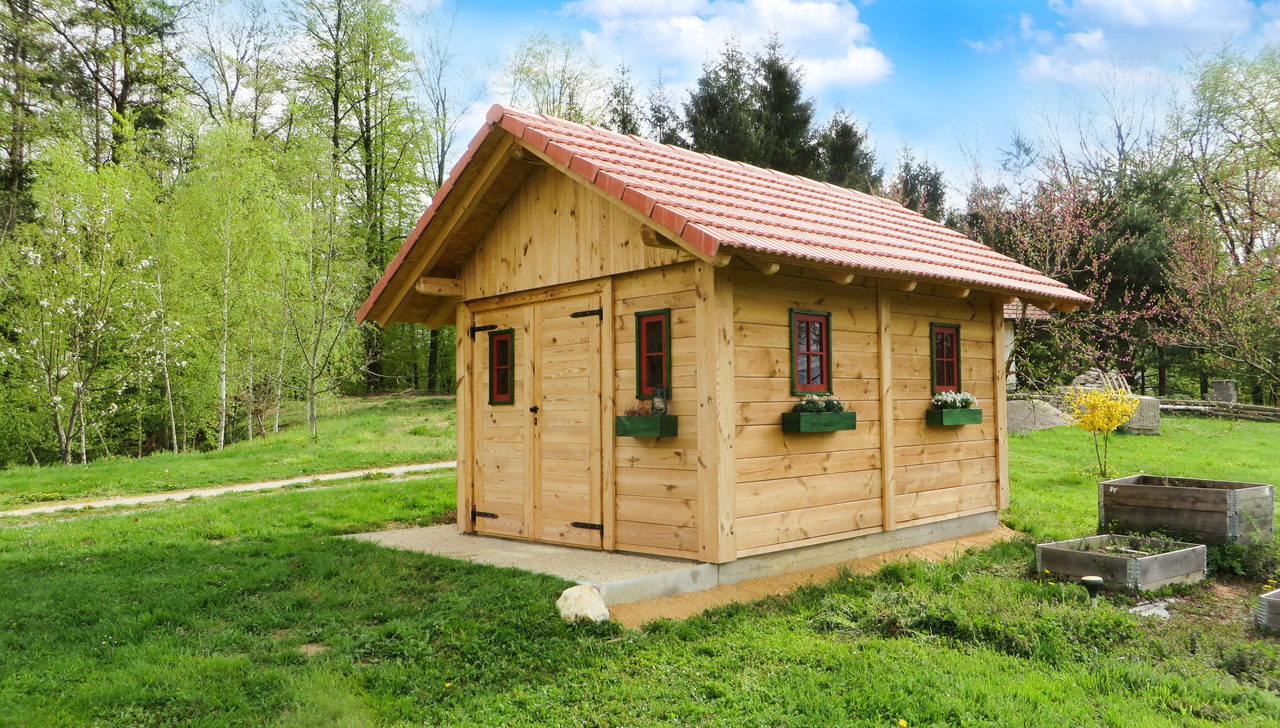
The first step is to choose the material of which we want to make the shed. There are several key considerations to take into account. One of them is the place where we will put our shed. The material should be solid and durable. The atmospheric factors must not cause the building to deteriorate.
A metal shed is definitely easier to assemble than a wooden structure, but it does not look as good as a wooden one, in which we will be able to install shelves, hooks, etc., without any restrictions.
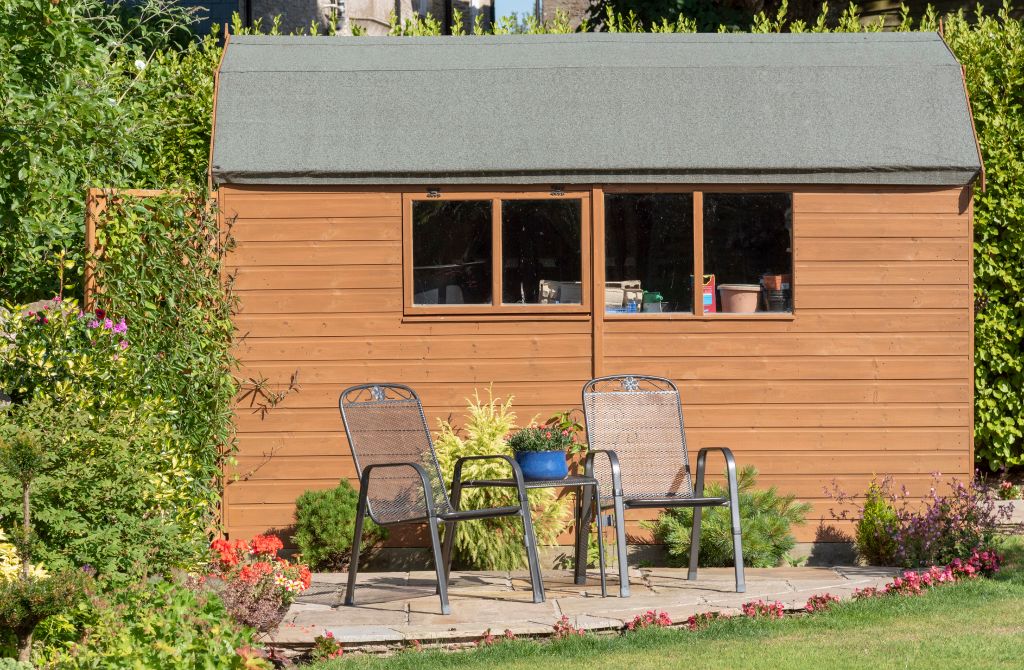
A wooden shed will fit better into the landscape of the garden or plot on which it will stand. Metal structures, despite their greater durability, will be a bit disfiguring
Once you’ve chosen the material, you can start building the shed. You should first assemble all the necessary tools. A hammer, tape measure, level, saw, screwdriver and ladder will certainly come in handy.
If our shed will be wooden, we should put it on a concrete foundation and lay joists on it. Remember that the distance between them should be about 40 cm. Then drill holes for pegs. On the joists, we attach the first parts of the walls. The next stage is the installation of beams.
>> See also: Terrace roofing ideas
Laying the floor starts with the door. It is advisable to leave free spaces between the wooden elements. Fasten the boards to the joists and next boards with screws.
Walls built of beams have to be made very precisely. We fix them with screws. We constantly check with a spirit level if everything goes according to the plan. Any unevenness should be immediately corrected by us. Place the frames in the previously planned places
When finishing the construction of your shed, let’s focus on the roof. Carefully attach the trim so that the resulting structure is stable. We nail more facade boards and cover the whole thing with bituminous roofing paper. Single-pitch roof is a guarantee of tightness.
The arrangement of the interior of the shed already depends on our individual preferences and creativity. Apply any solutions that will be most convenient for you. You can make shelves yourself, install hooks or insert ready-made furniture. It is worth remembering that the tool shed is a place that will serve us for many years. So it is worthwhile to carefully manage this space.